Sketchnoting is a visual alternative to traditional note taking. It combines the use of visuals (images, shapes, connectors) and text for recording information and ideas. Sketchnoting focuses on capturing only the most important or most interesting parts of a discussion, talk or presentation. You don't need to have developed drawing skills to practice sketch noting. It is more about the ability to synthesise and summarise ideas by combining visuals and text.
Sketchnoting is a useful tool that can help you on your journey to becoming a visual thinker and communicator. It helps you to better retain information, communicate and engage with others. Here's how:
At Meld Studios we use sketchnotes as a tool to help us to engage an audience, communicate and understand complex ideas and connections. We use sketchnotes in this way both internally for ourselves and externally with our clients and research participants.
If you would like to use sketchnoting as part of your everyday or are ready to step into live sketchnoting and graphic facilitation, you should build a Sketchnote Bible. Referring back to your Sketchnote Bible will help you to feel more confident to venture out of traditional note taking.
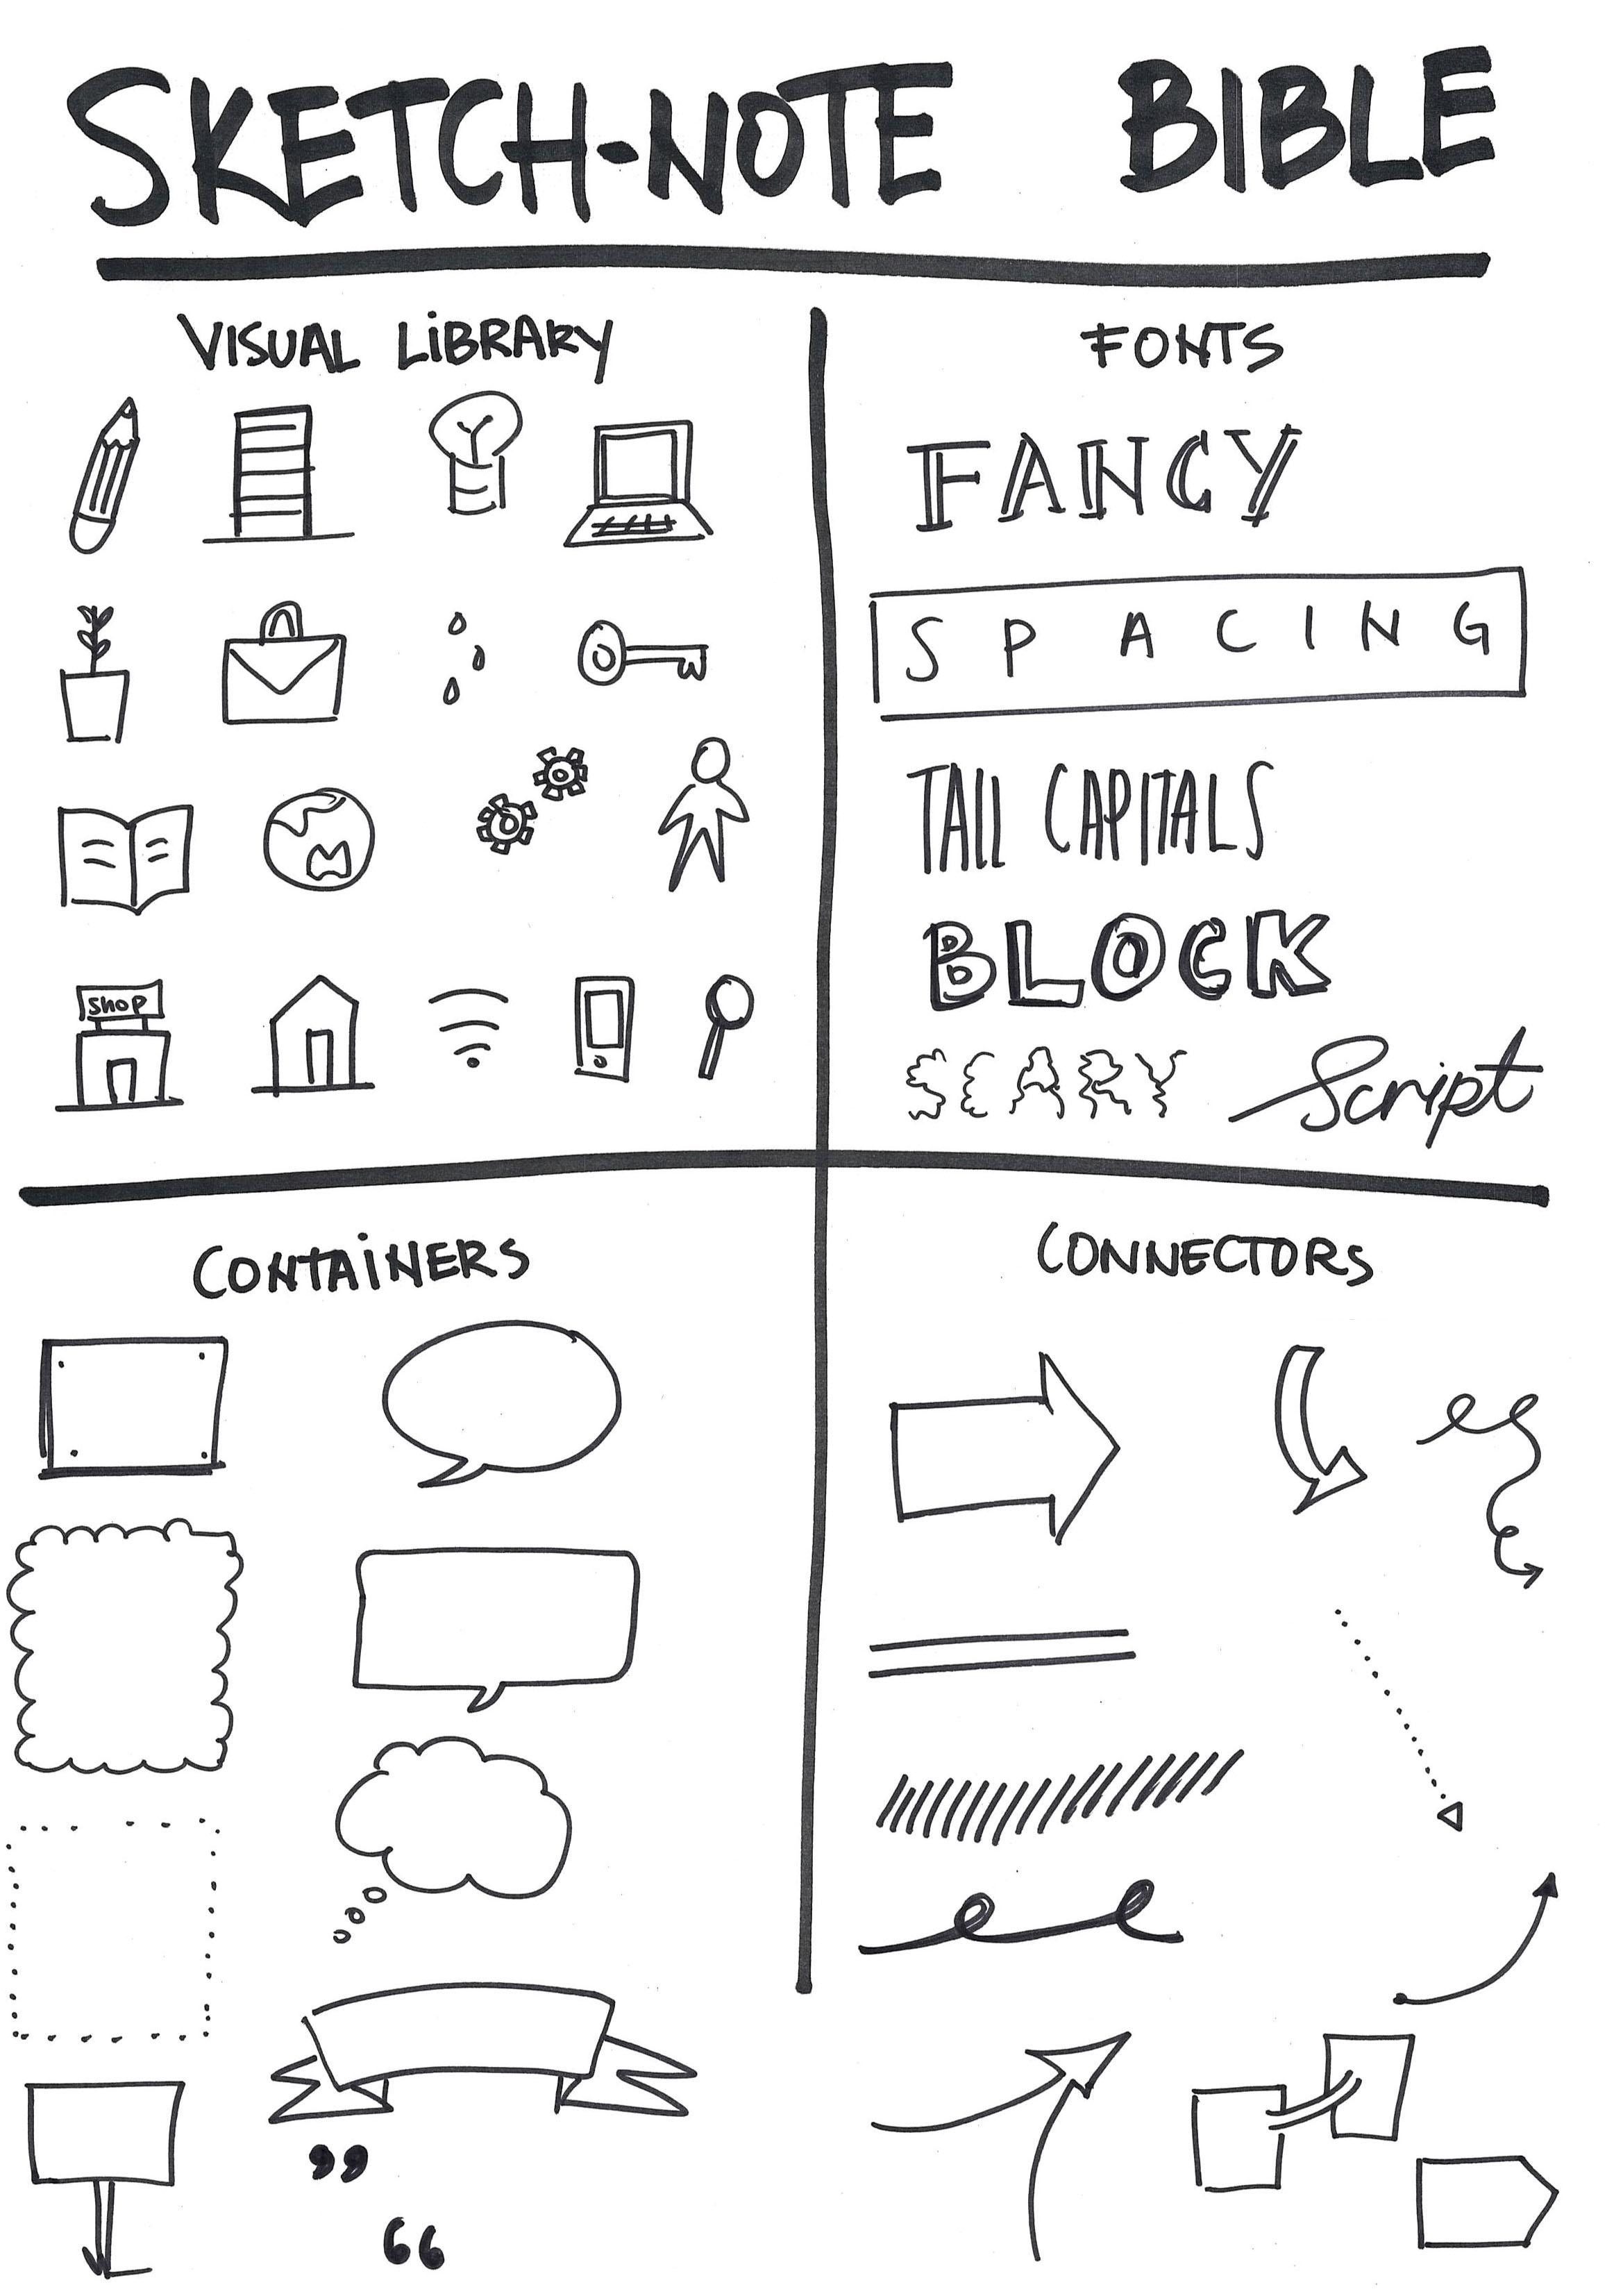
The Sketchnote Bible expands on your Visual Library to include fonts, containers and connectors. These added tools will enable you to effectively combine visuals and text in your notes. They will form a visual toolkit you can draw on to express yourself visually to others and to take visual notes for yourself.
We ran this activity internally so we can all get better at expressing ourselves visually.
This activity will take 35 mins
What you'll need:
Listen to the Sketch Class2 Audio and using your Doodle Challenge Activity Sheet draw as many of the objects the speaker is listing at the same pace. Do your best to keep up with the speaker. Use a MARKER so that you focus less on the detail and more on the overall appearance of the object.
Pro tip: Stick to 2D as much as possible, 3D can slow you down.
Reflections from doodlers in the class:
"The marker forces you to go faster"
"The faster you go the less detail you put in"
"The less I thought in 3D the easier it was"
Copy the objects onto your Sketchnote Bible Activity sheet into the visual library section. This is the time for refinement. Add or remove any details from the previous drawings. As you do this ask yourself:
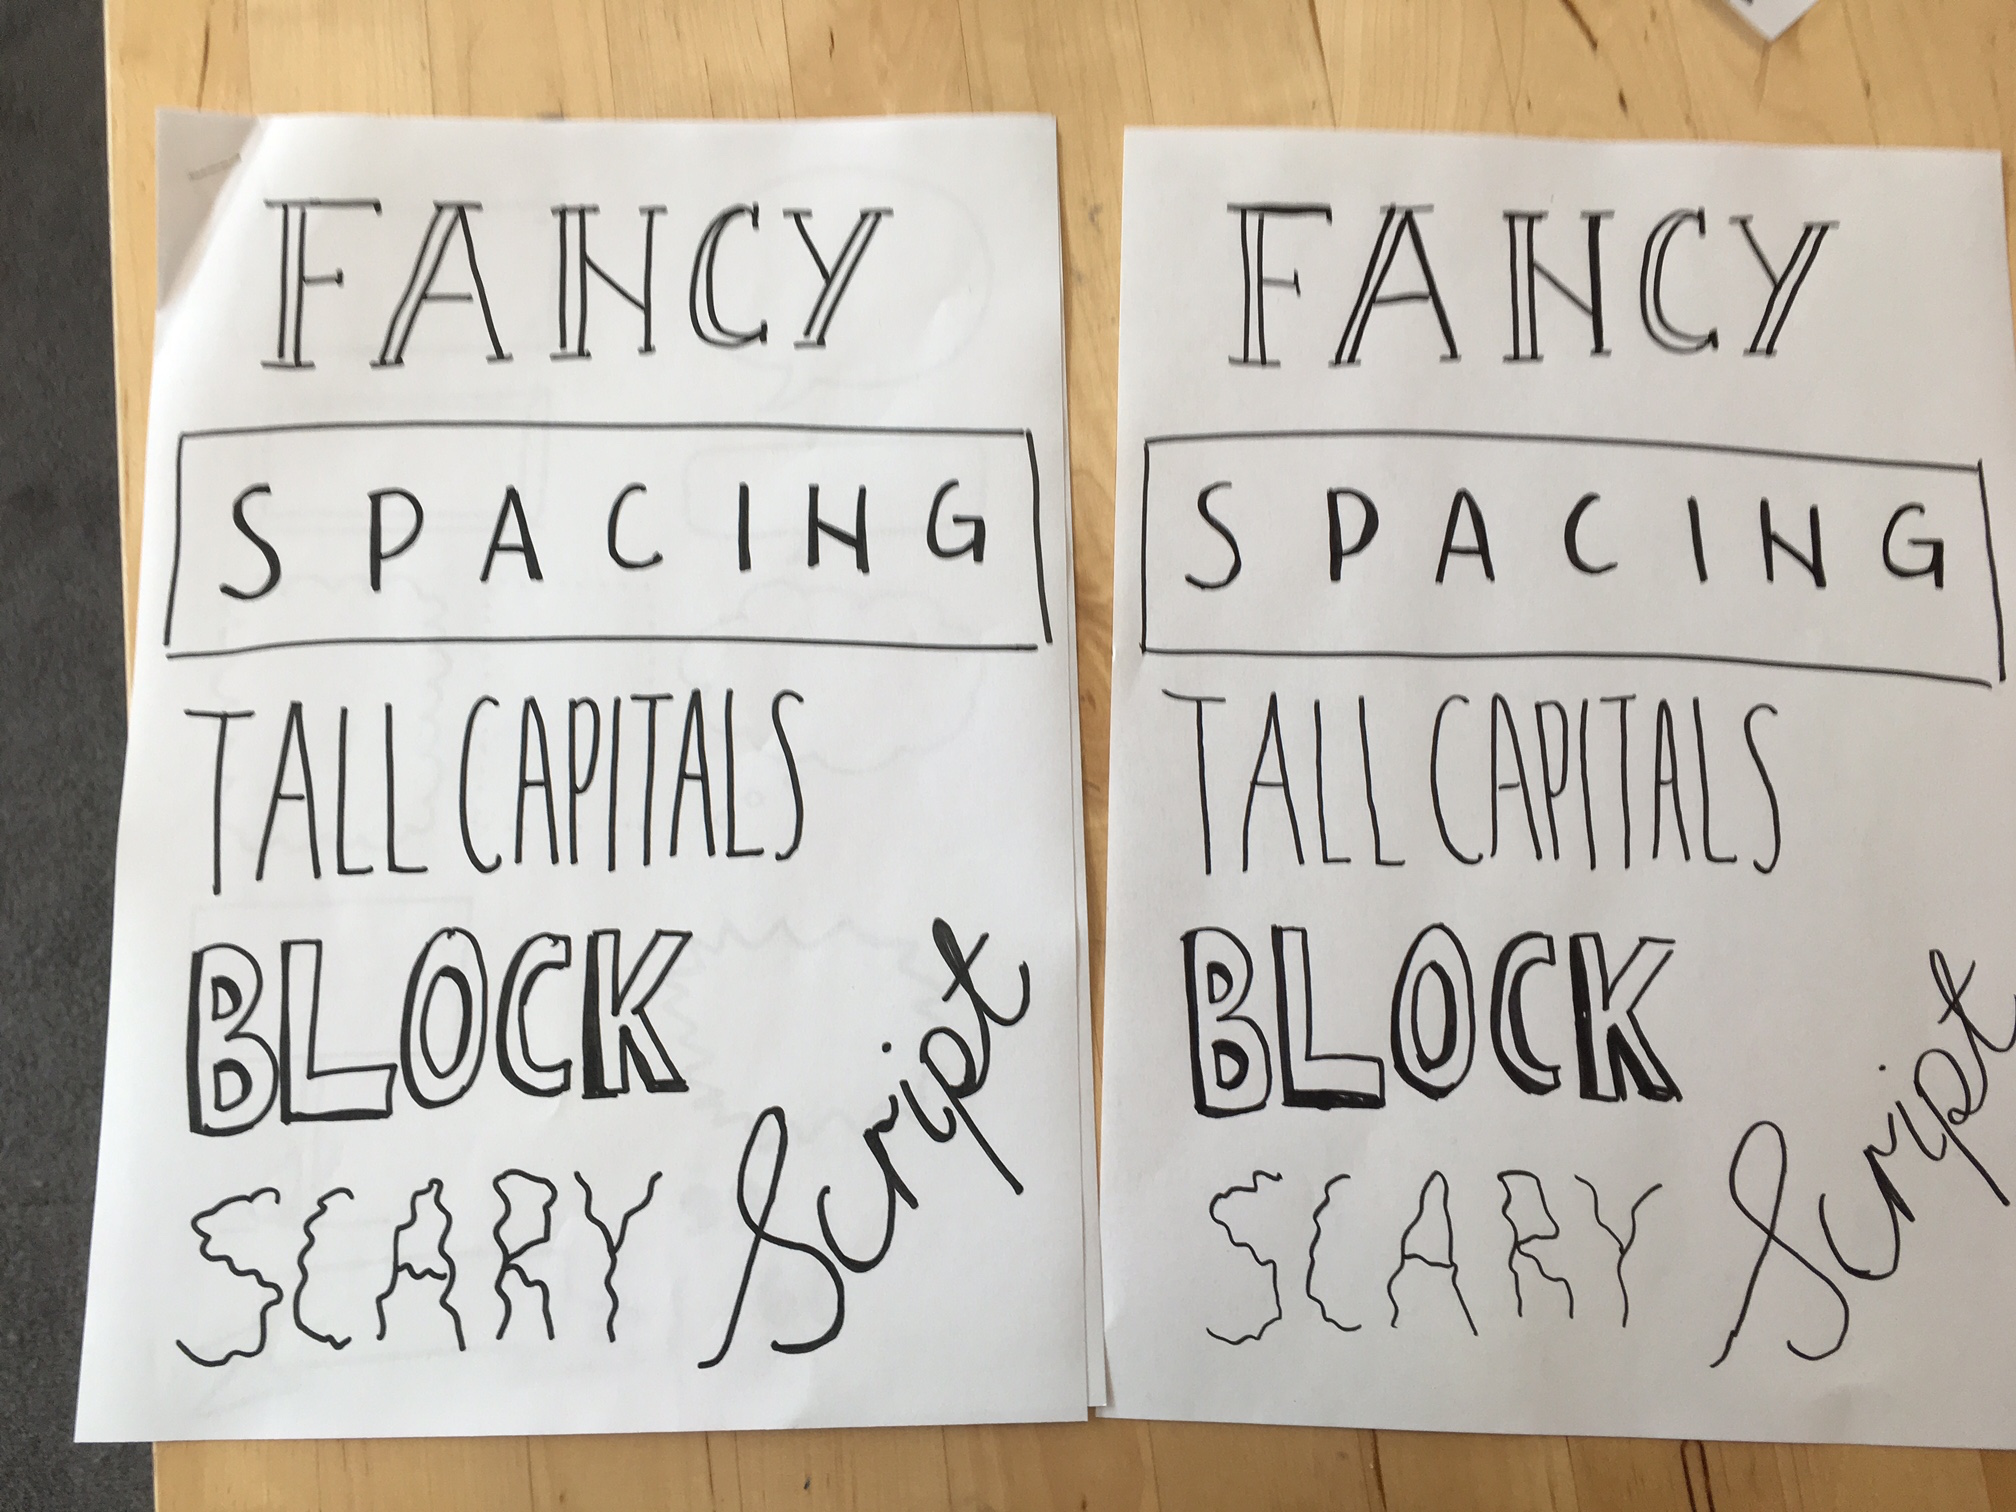
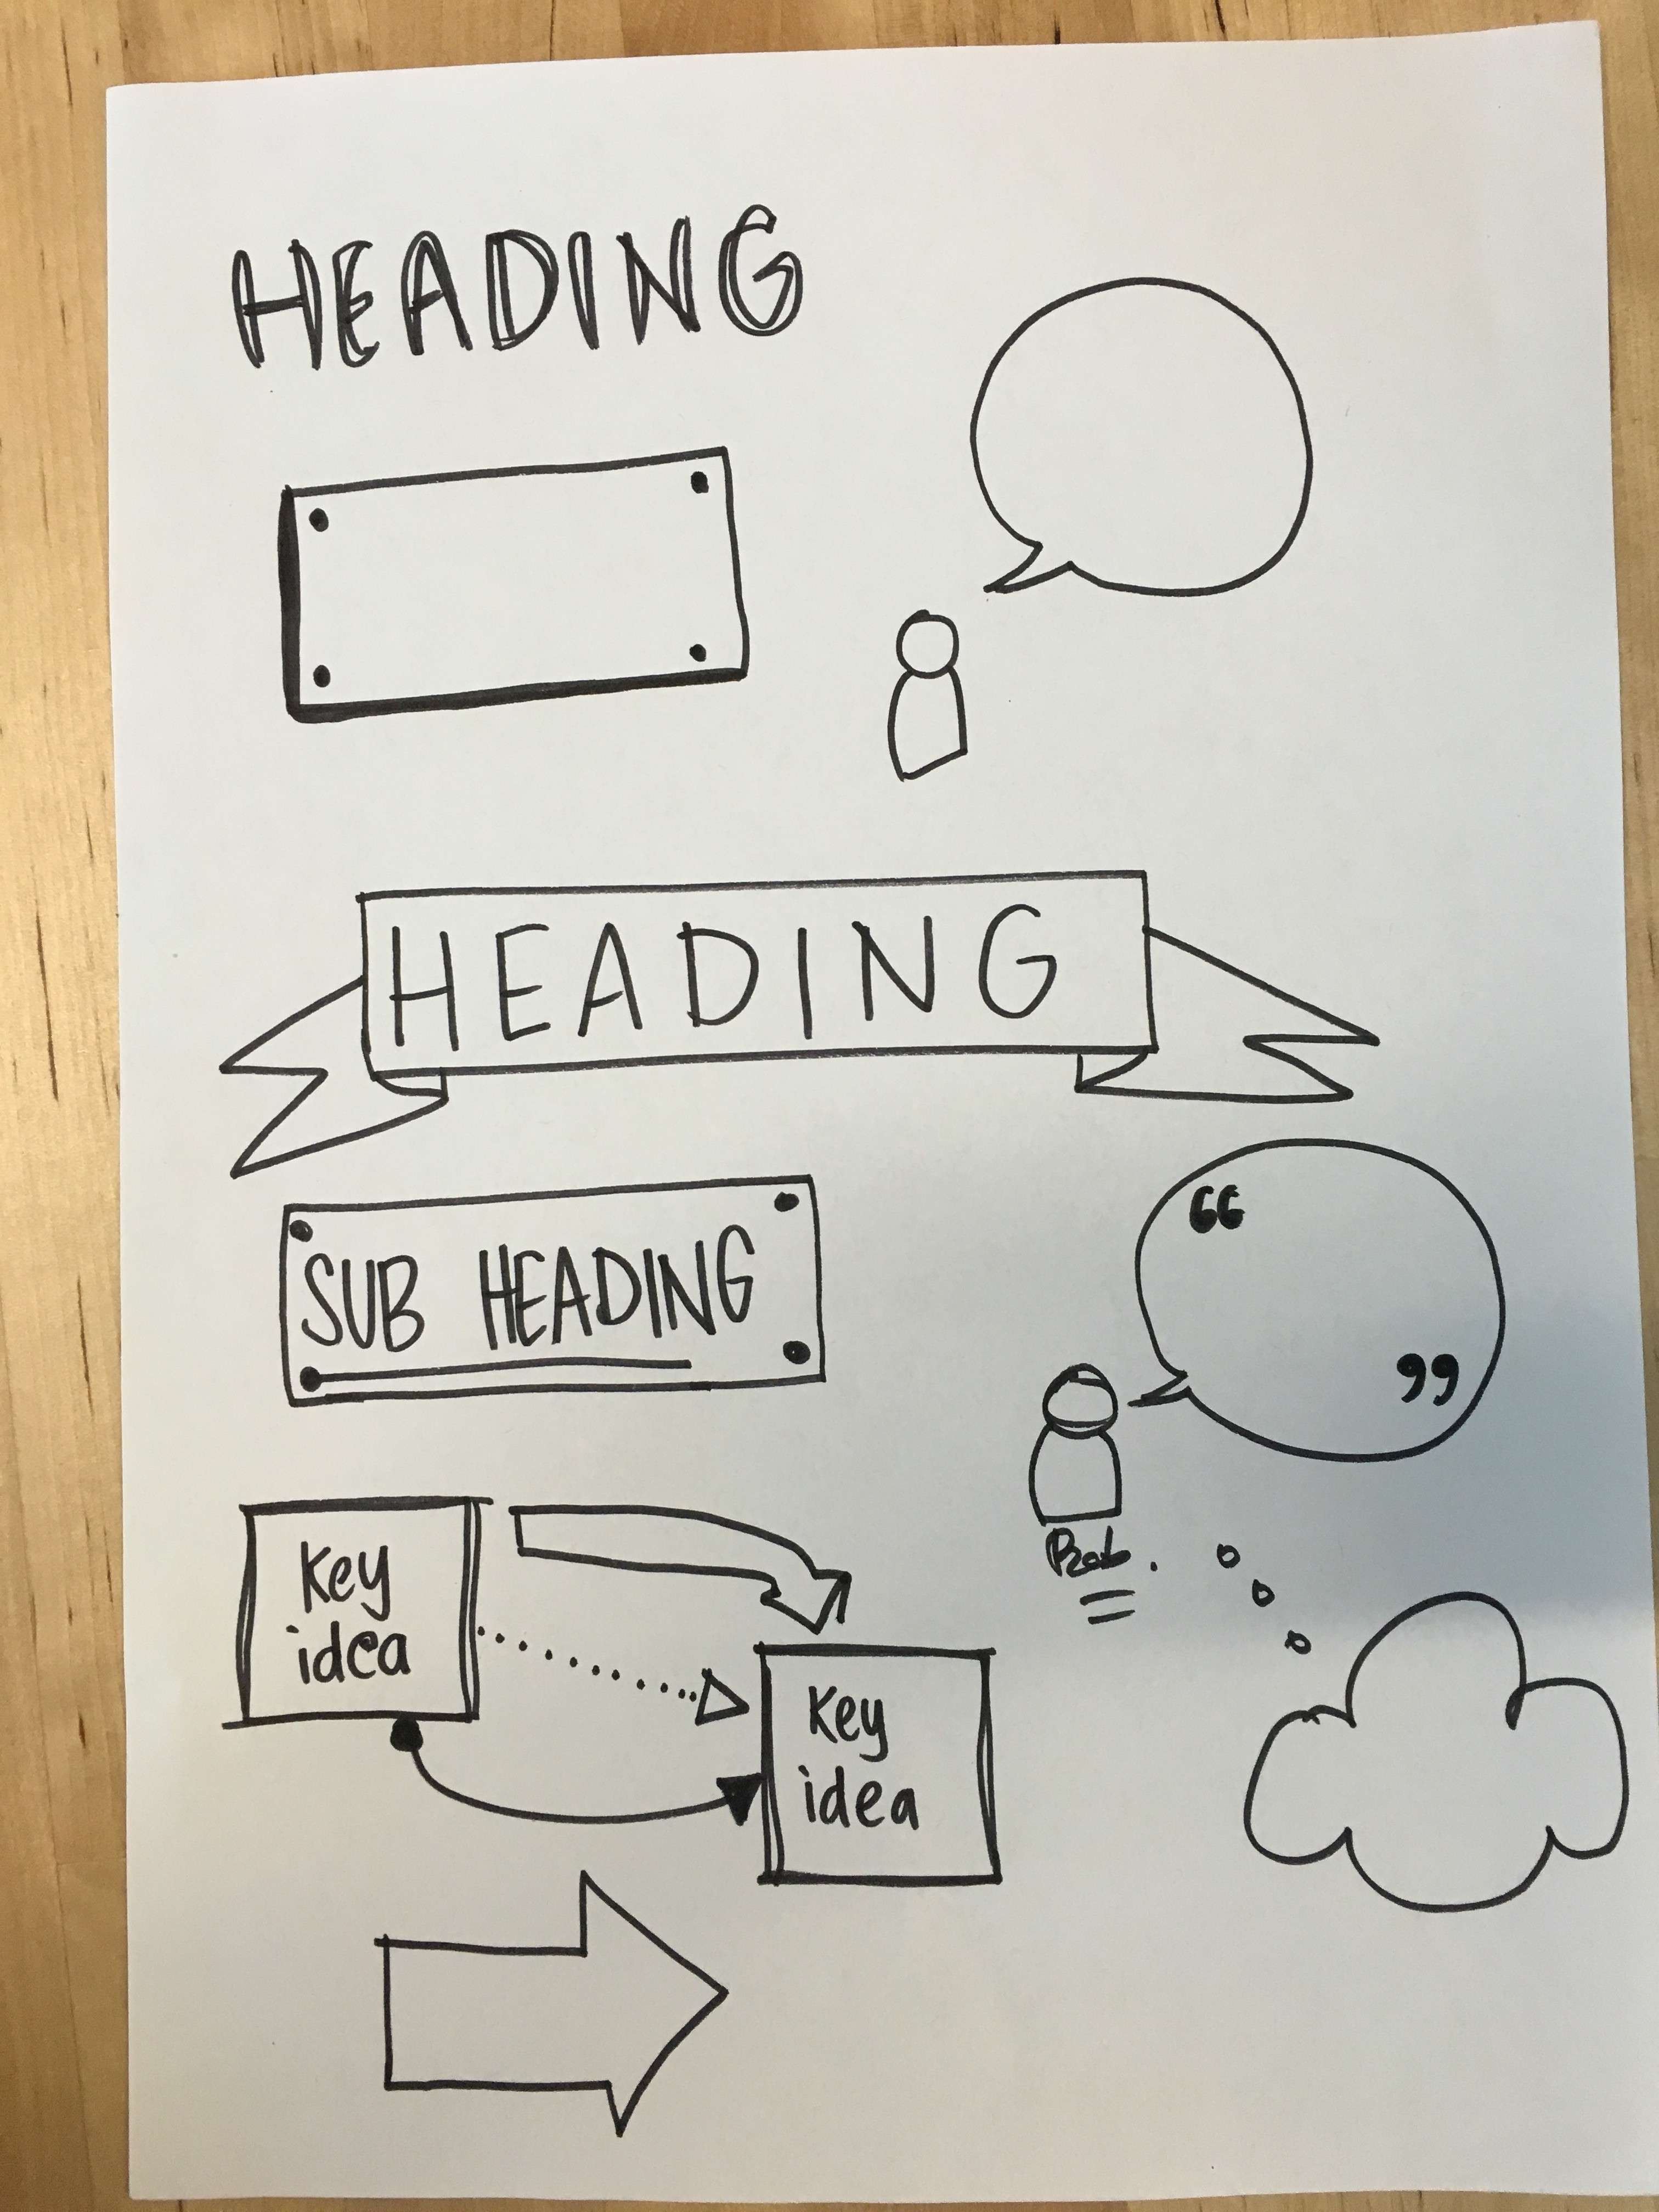
Onto some A4 paper, trace over the fonts, containers and connectors from your Tracing materials sheet.
Once you feel a little more confident, copy them onto your Sketchnote Bible Activity sheet.
You are about to watch a 3 minute animated video on Service Design.
Using your completed Sketchnote Bible Activity sheet for reference, on A4 paper plan how you will construct your page when you start sketchnoting. Have a think about:
Pro tips:
Watch this 3 minute video. While you are watching pay attention to the things you find most interesting. For this step DO NOT sketchnote. Focus on listening and watching the video. When the video is finished note down the things you remember most.
Now watch the video a second time. This time do more listening and less watching. Focus on sketchnoting the things that you found most interesting. Use your Sketchnote Bible and your page plan as reference.
Pro tip: Don't try to capture everything, focus on the most important or most interesting things.
Reflections from doodlers in the class:
"It was easier to sketch-note once I knew the content"
"It was much easier when I remembered that I don't need to capture everything"
Congratulations! You now have a visual language that you can start to communicate with. We challenge you to pull on your Sketchnote Bible next time you are taking notes or communicating an idea.
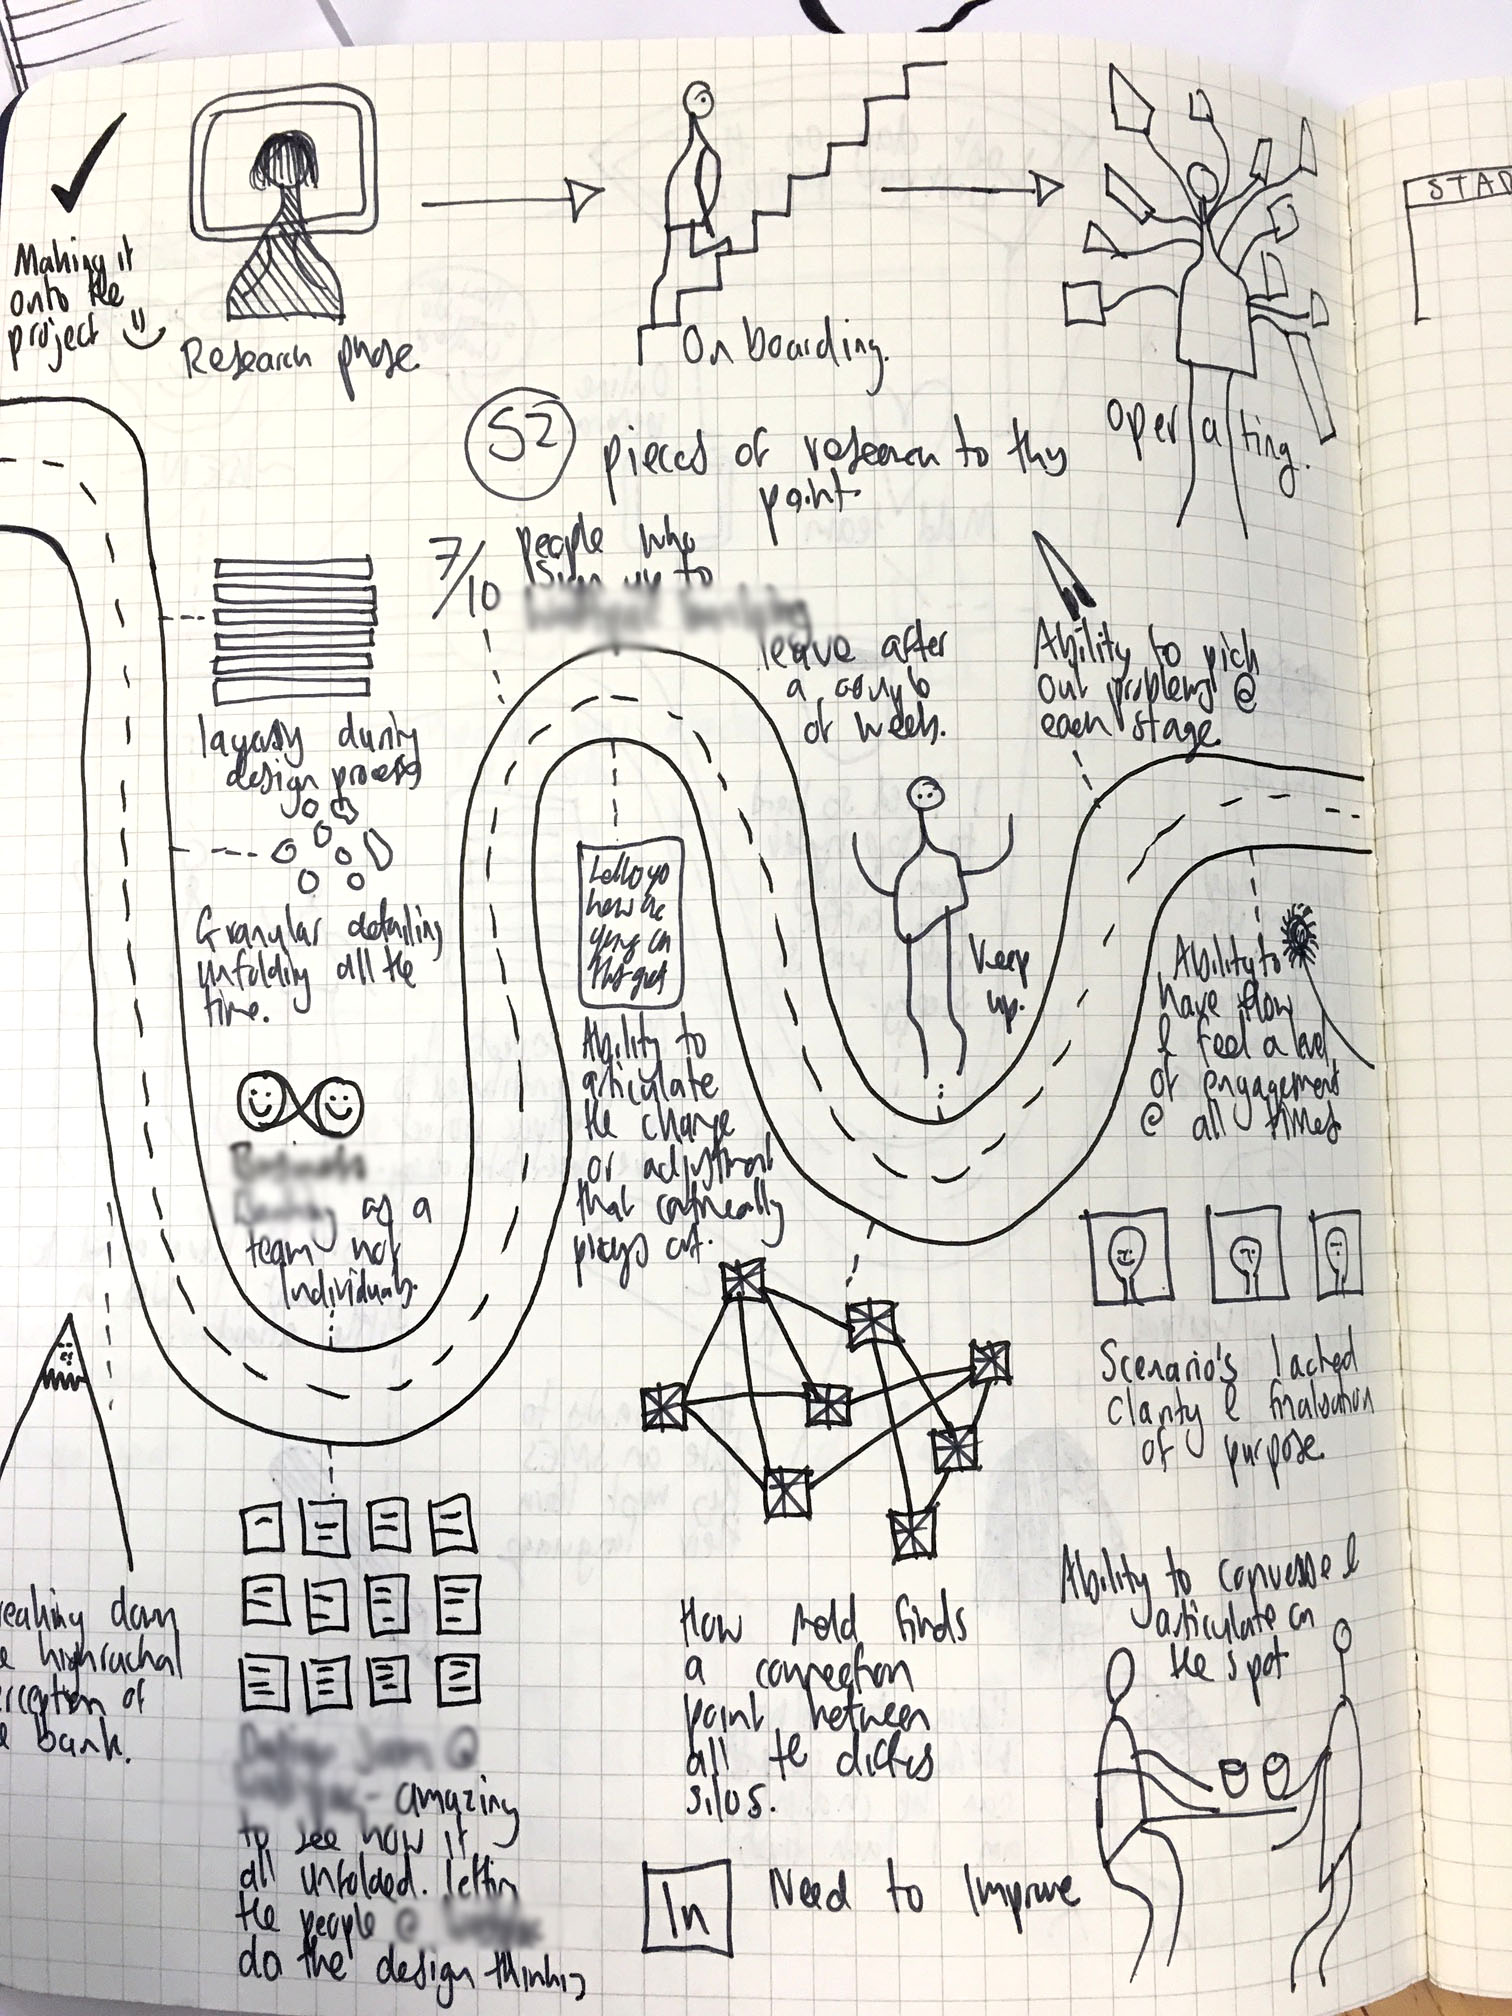
Here's some sketchnotes that people in the class have done for practice.:
How have you improved your sketchnoting skills? Do you have any favourite resources that have helped you? Share them here in the comments or join the conversation with me on Twitter.